DGW Sherwood Bolt Action Rifle
1.) Get the pick list and get the materials needed.
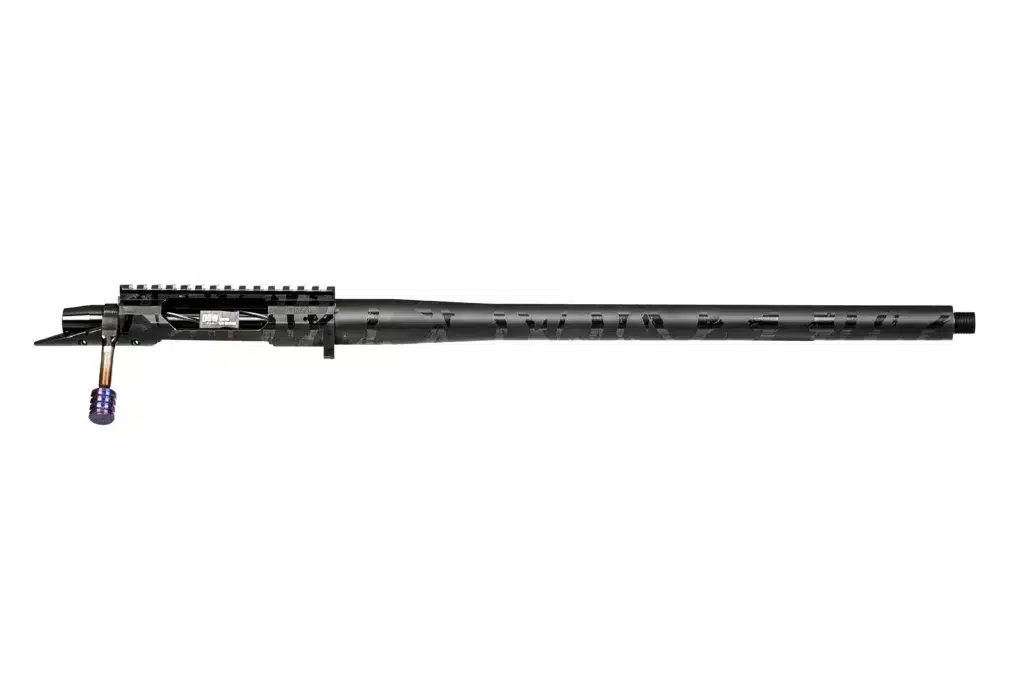
2.) Get the barreled action with the correct serial number and remove the bolt. Check to make sure the action is clear.


3.) Install the trigger. Place it onto the action portion of the barreled action. Insert a trigger pin into the hole closer to the barrel portion of the barreled action and tap it in. Insert a second trigger pin into the hole closer to the back of the barreled action and tap it in.


4.) Assemble the ESS chassis system. First, attach the ESS chassis base to the barreled action. Align the recoil lug with the slot on the bottom side of the barreled action.


5.) Insert the two action screws into the ESS chassis base. The 1/4″-28 x 3/4″ screw (McMaster part 91251A440) goes more towards the front and the 1/4″-28 x 2″ screw (McMaster part 90044A354) goes more towards the back. Use a 3/16” allen key and hand tighten the screws.


6.) Hold the rifle upright and push down on the barreled action. Tighten the top screw and then the bottom screw so they are very snug and torque them to 60 in/lb.


7.) Remove the 3 screws from the ESS chassis forend. Once removed, slide the ESS chassis forend over the top of the barreled action so it sits up against the ESS chassis base. There should be no gap between the two.


8.) Get the 3 screws that you previously removed and screw them into the 3 spots on the underside of the ESS chassis forend. Use a 5/32” allen key to tighten the screws. Torque these to 30 in/lb.


9.) Remove the bolt from the back of the ESS chassis base. Line up the buttstock with the interface of the ESS chassis base and slide it in. Return the bolt to where the buttstock and ESS chassis base connect.


10.) Start by threading it in by hand. Then get a 5/16” ball head allen key and continue to hand tighten. Torque this to 30 in/lb.

11.) Install the bolt into the barreled action.

12.) Install the pistol grip. Remove the 1/4″-28 screw from where the pistol grip should go, place the pistol grip there, and insert the 1/4″-28 screw. Hand tighten the screw with a 3/16” allen key. Torque this to 30 in/lb.


13.) Insert the magazine. Angle the magazine sideways and rotate so it activates the magazine release and pushes into place.


14.) Do feed checks with dummy rounds. Insert the dummy bullets into the magazine. Insert the magazine into the gun. Fire a couple dummy rounds with the rifle to ensure that the gun is cycling and being fed properly.


15.) Oil the rifle with Tool X Gun Oil.
16.) Install the Hellfire Self Timing Muzzle Brake. Install the universal adaptor onto the muzzle by twisting it on and then hand tightening with 5/8-inch box-end wrench. Thread the brake onto the muzzle so it’s barely snug and can still be rotated. Rotate the brake so it’s level. The dot on the face of the brake should be in line with the top of the rifle and the line will be parallel with the ground. Once aligned, push the brake in with your thumb. Once the brake is locked in place, tighten the collar with your hand.

17.) Put all materials away and put the Sherwood Rifle in its designated spot.

Contact Information
- Email: [email protected]
- Phone: 313.733.0308

