Table of Contents
Assembling a Detroit Gun Works barreled action is not as difficult as you think it might be. With the right tools and instructions anyone can do it.
1.) Get the barreled action pick list from ERP system and get materials listed.
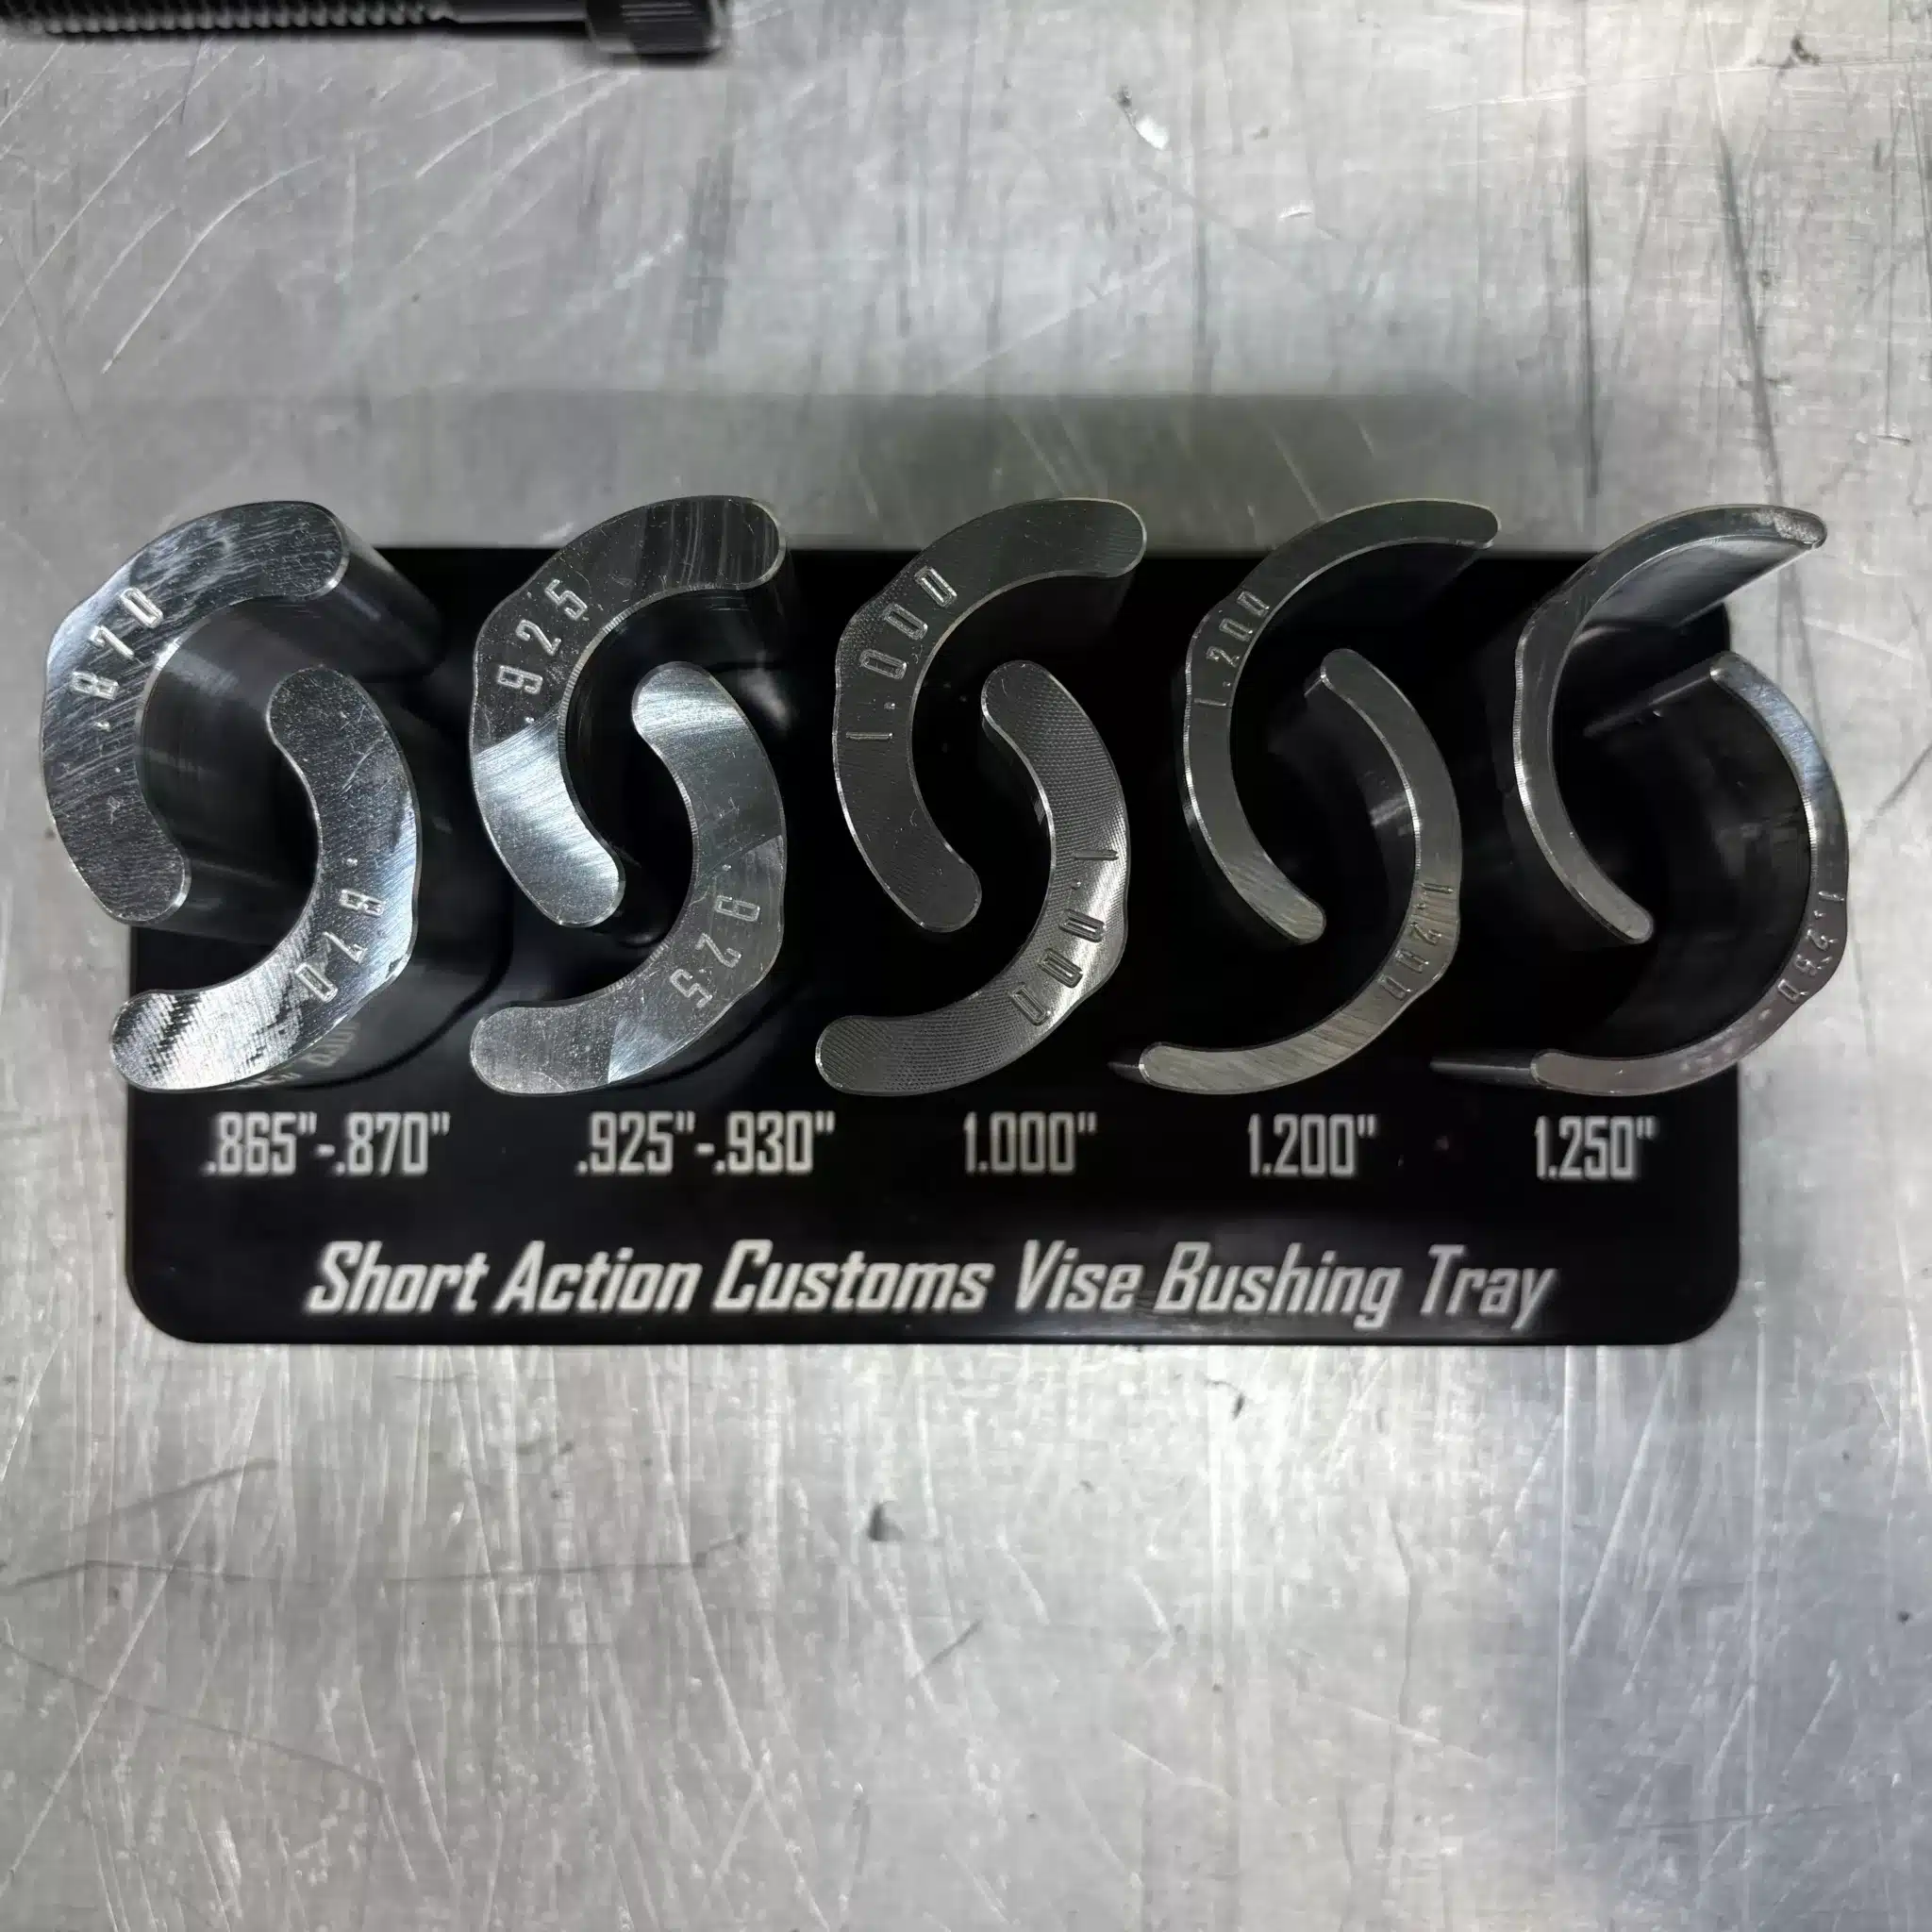
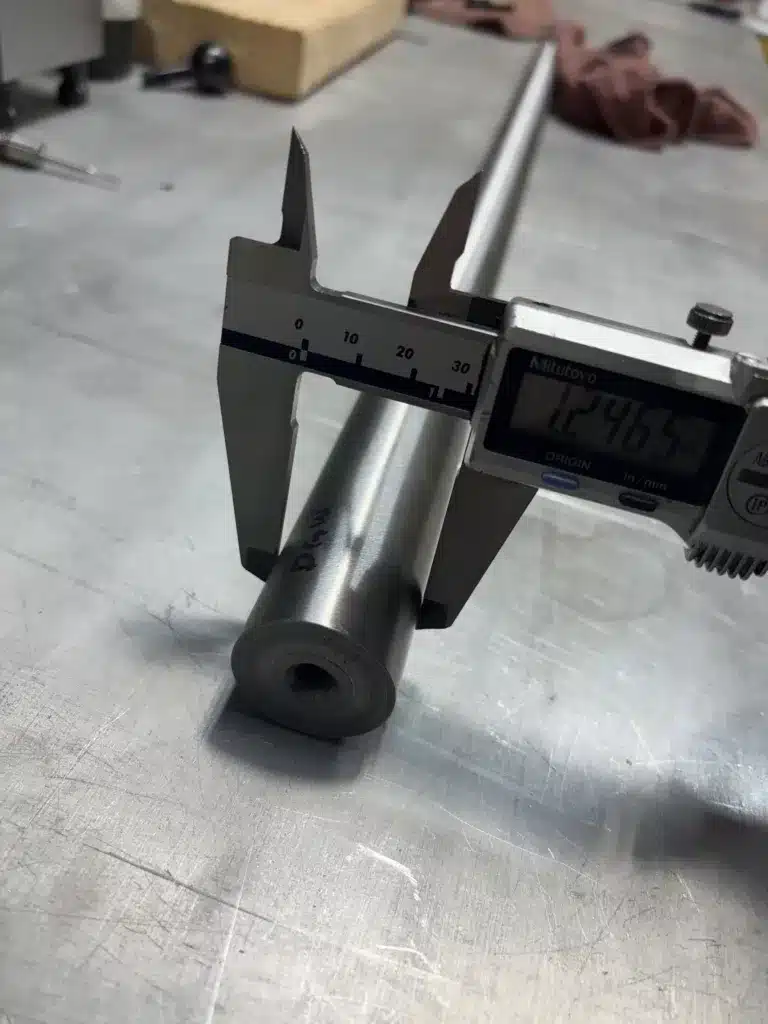
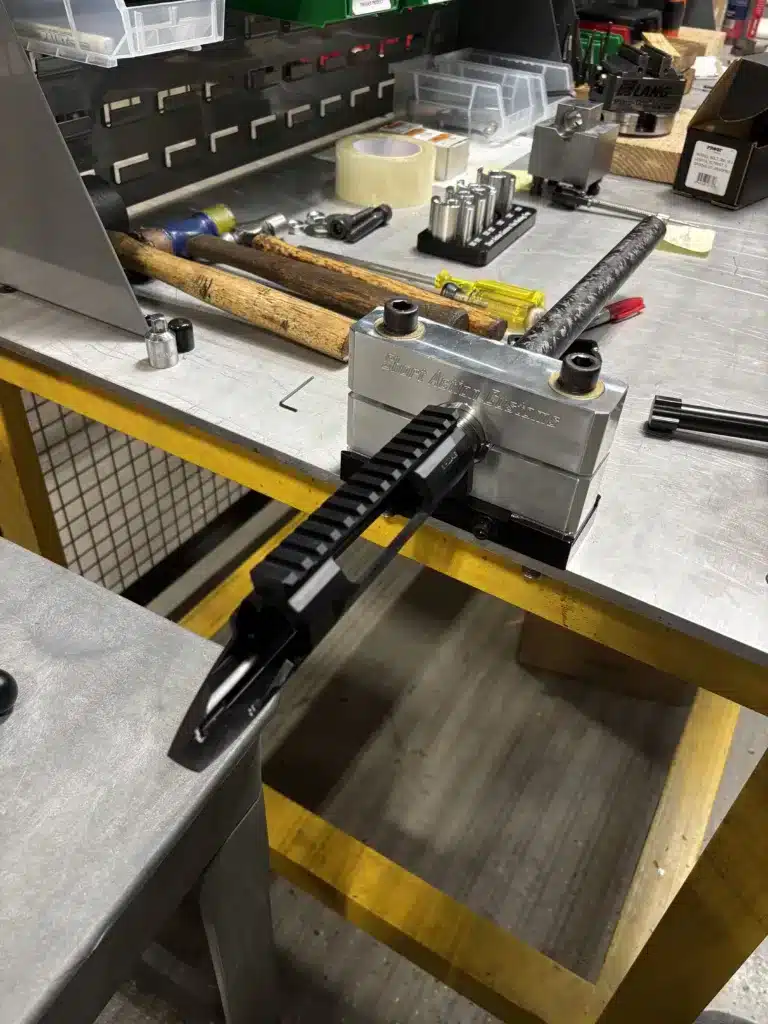
2.) Measure the contour at the end of the barrel with digital calipers and choose the correct bushing size for the barrel vise.
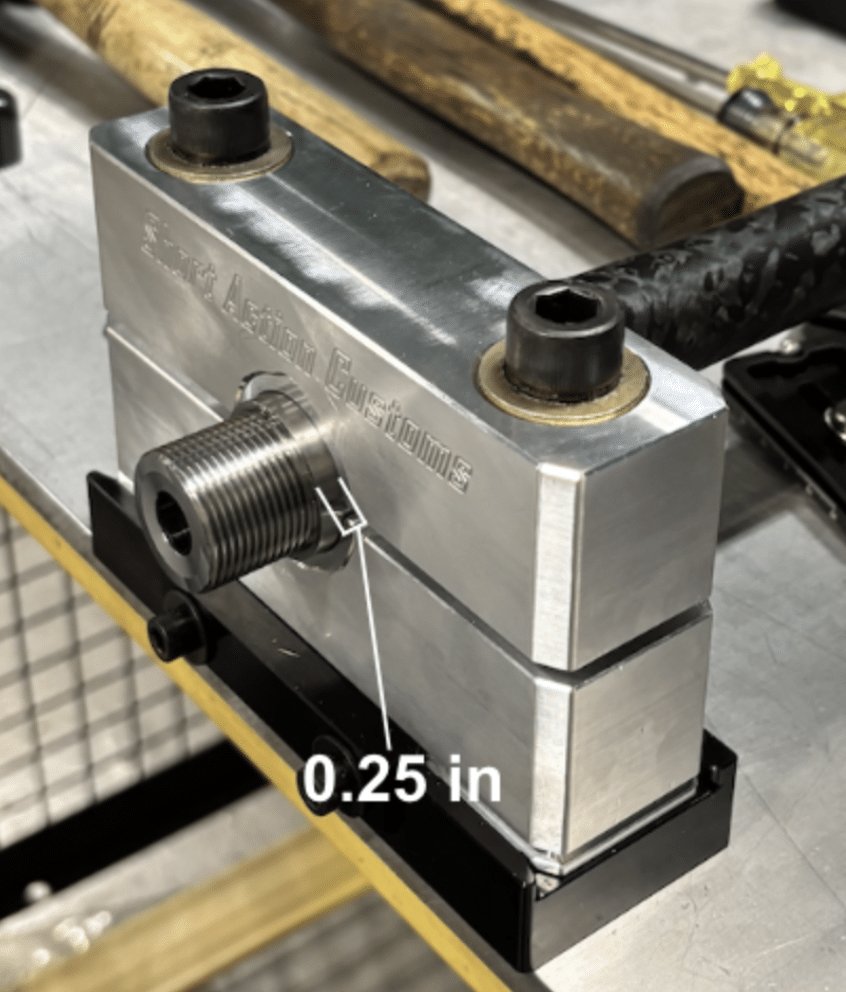
3.) Place this bushing and chamber of the barrel inside of the barrel vise. Leave a quarter inch of space between the end of the threading and the barrel vise so the receiver doesn’t come in contact with the barrel vise.

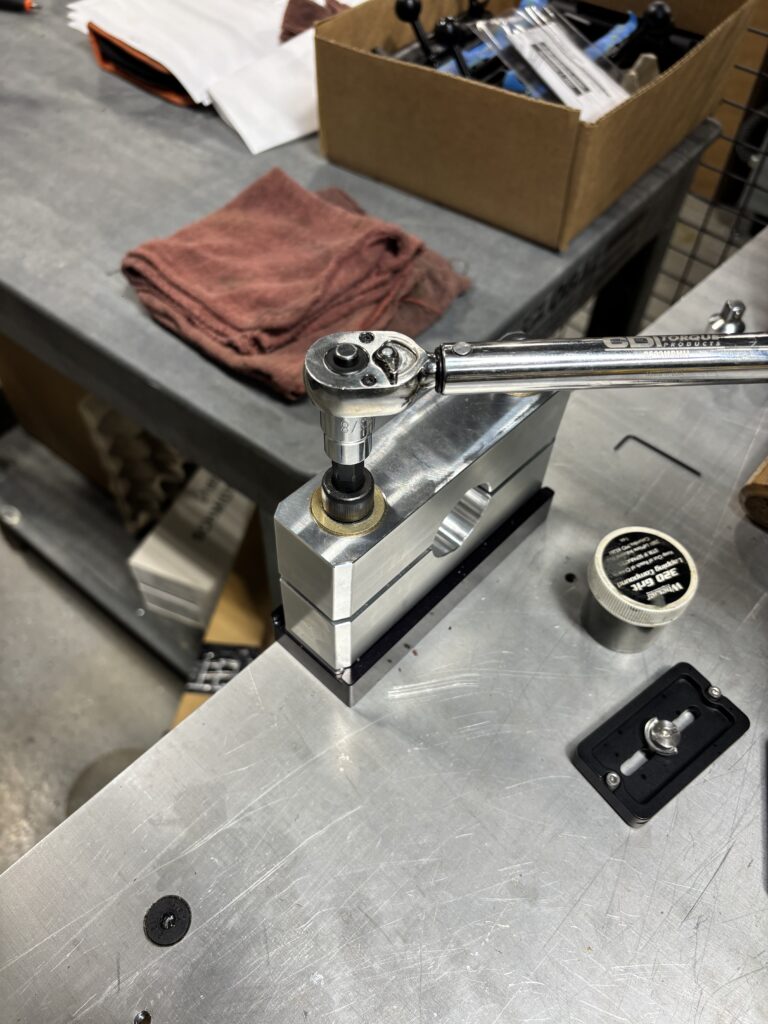
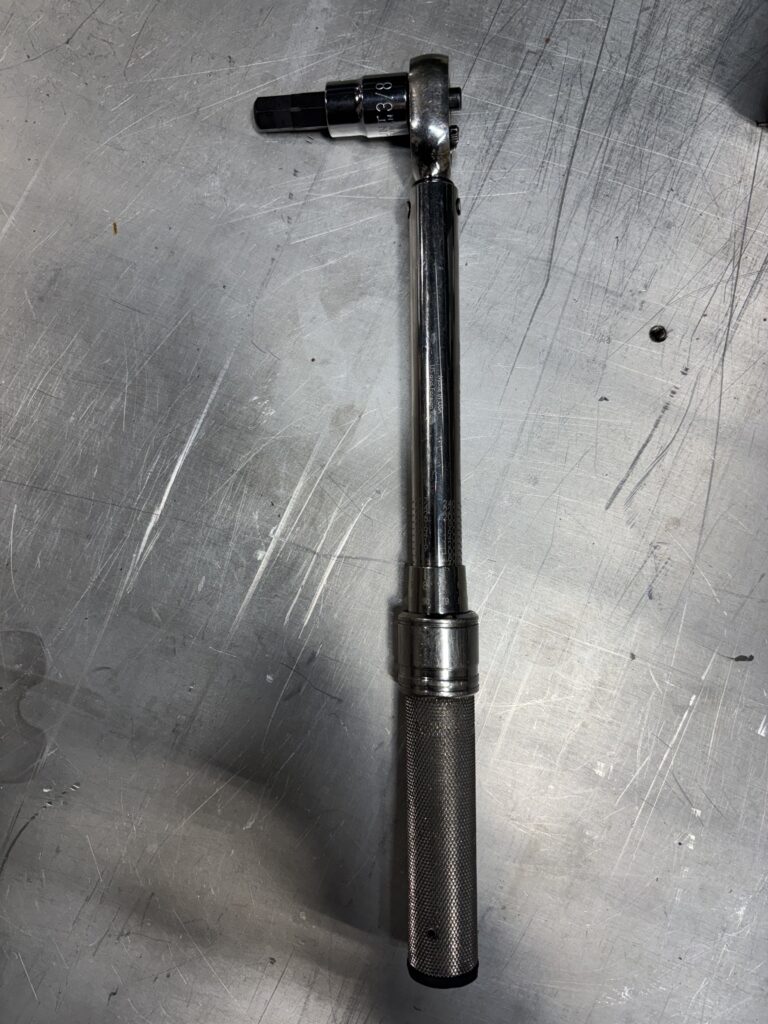
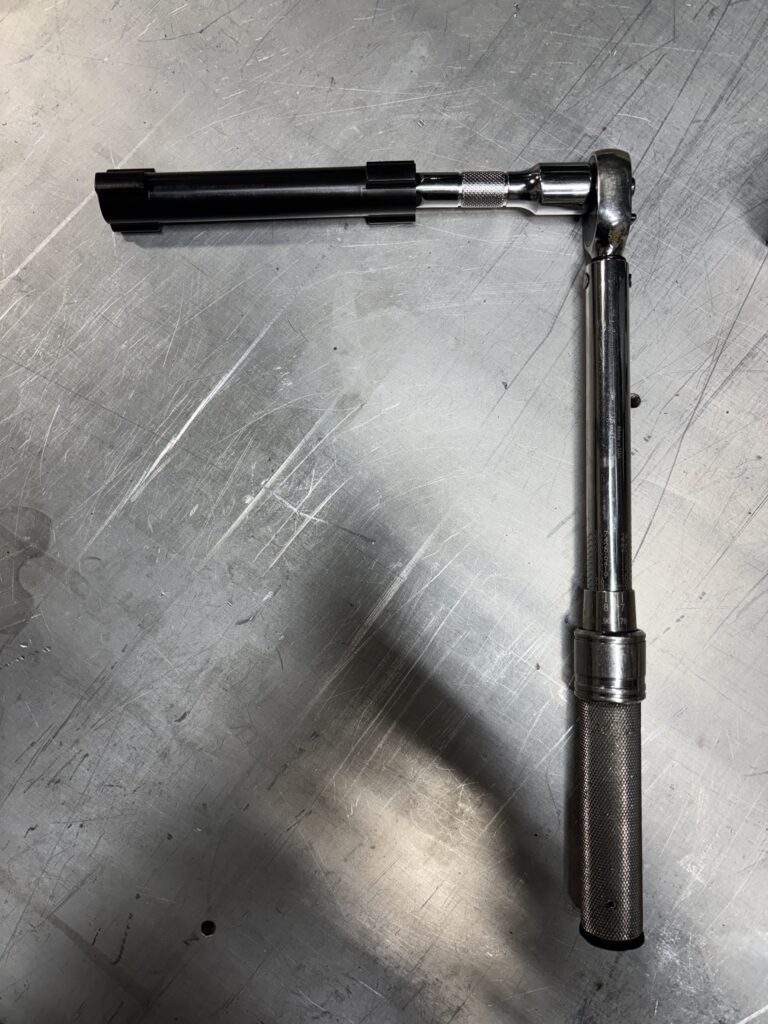
4.) Use the torque wrench to tighten the barrel vise to 40 foot/lbs.
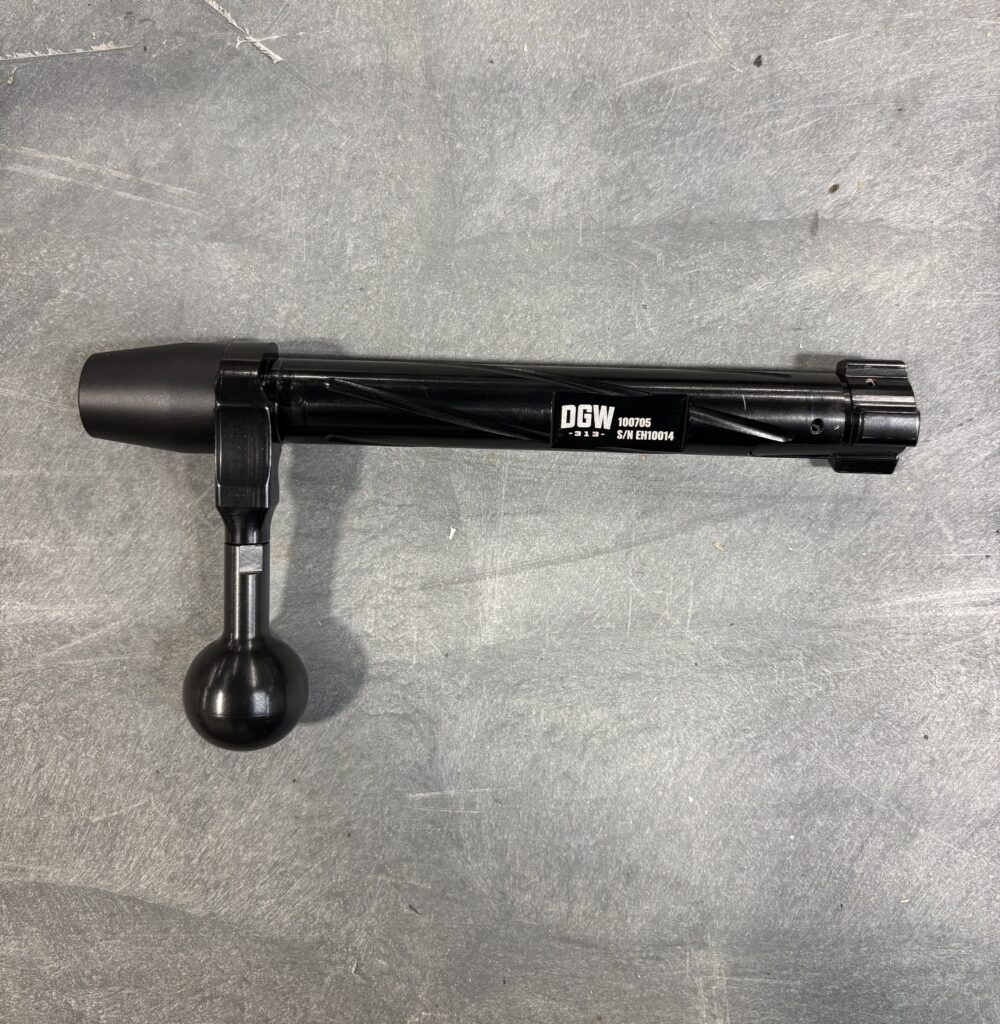
5.) Remove the bolt from the receiver.
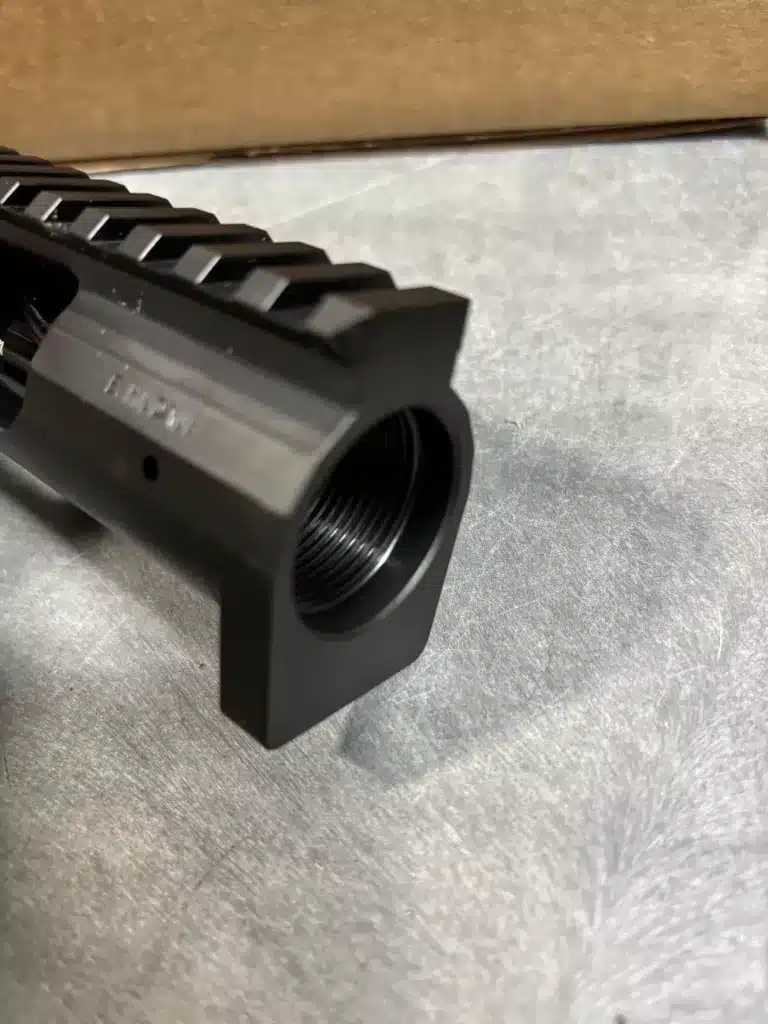
6.) Connect the receiver to the barrel by carefully hand threading the receiver onto the chamber end of the barrel. Make sure that you thread it on by hand so that you do not cross thread the barrel to the receiver.
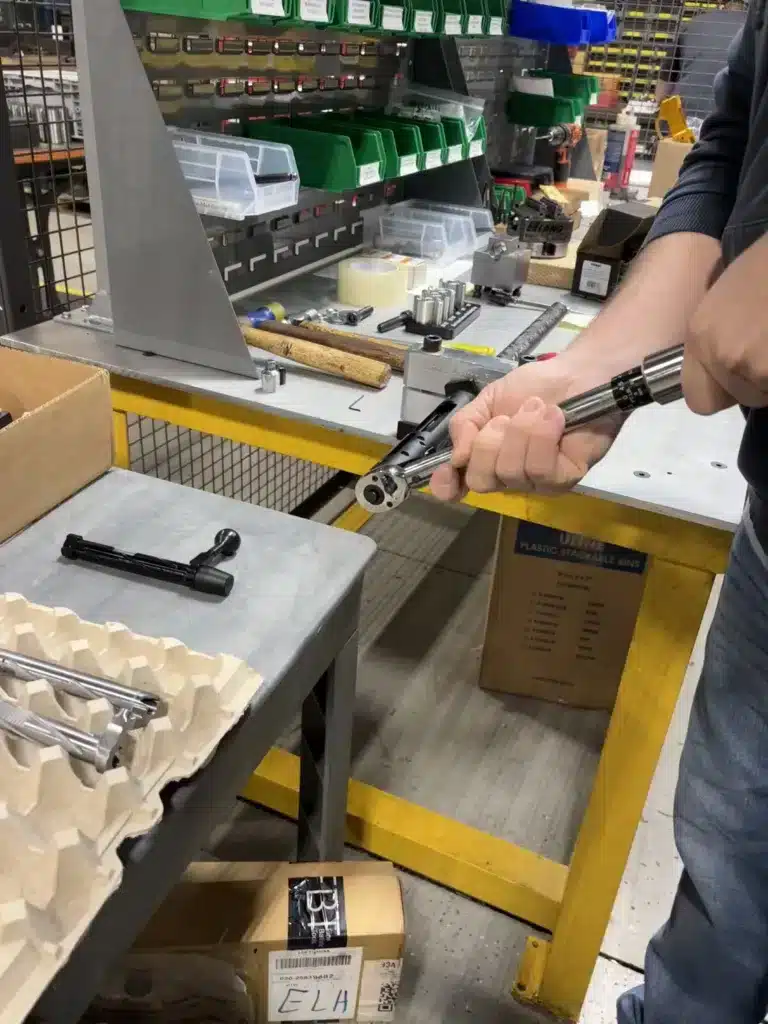
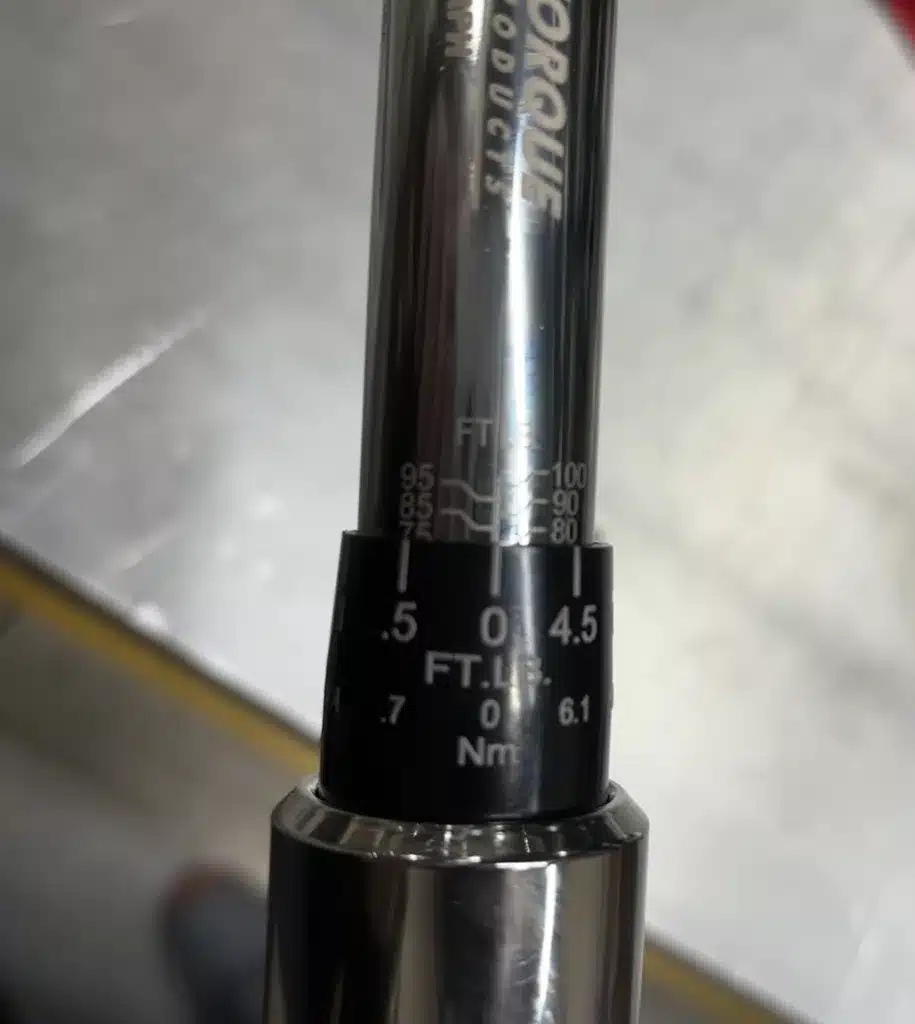
7.) Use the torque wrench to tighten the barreled action to 80 foot/lbs. By using a torque wrench, you tighten the receiver to the barrel correctly. This alleviates you overtightening or having it too loose.
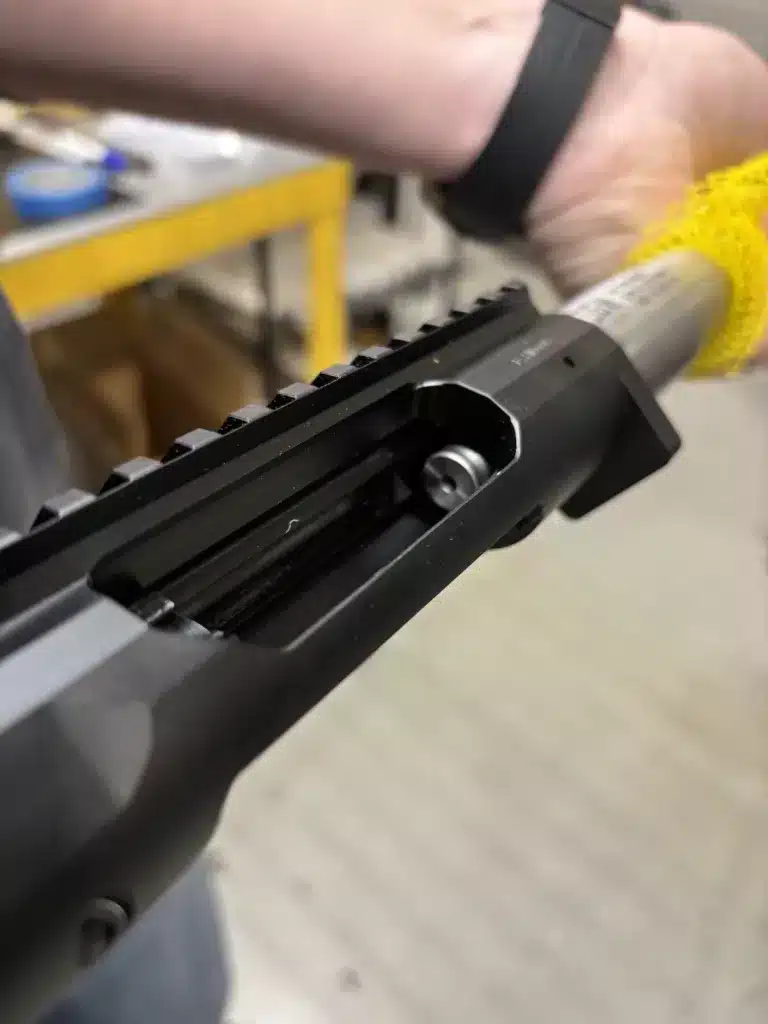
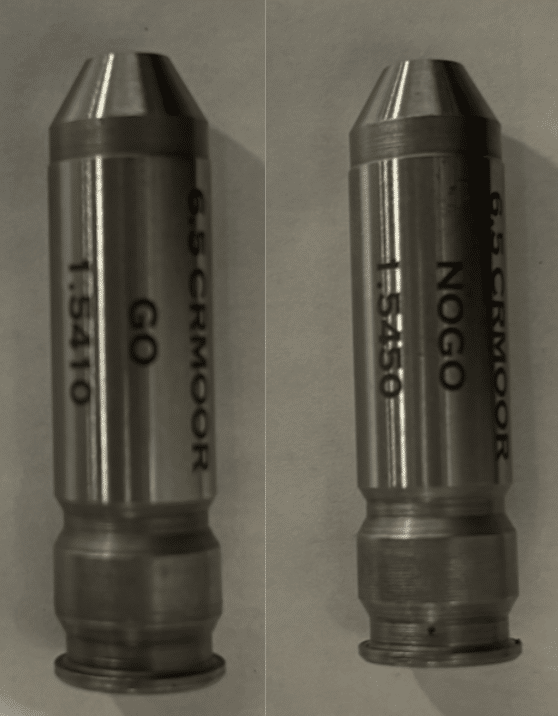
8.) Use the chamber gauges to check and make sure that the chamber is correct. Place the GO and NOGO chamber gauges into the chamber. The GO chamber gauge should allow the bolt to close while the NOGO chamber gauge should not allow the bolt to close. Figure 15 is what the barreled action should look like with the GO chamber gauge and Figure 16 is what the barreled action should look like with the NOGO chamber gauge.
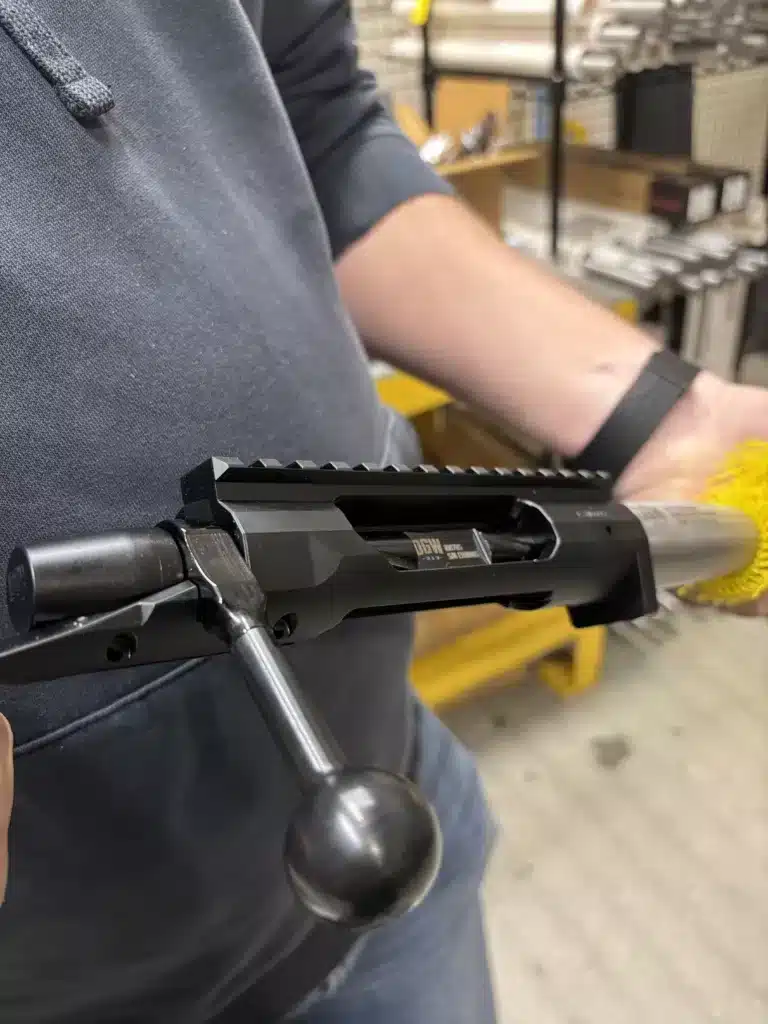
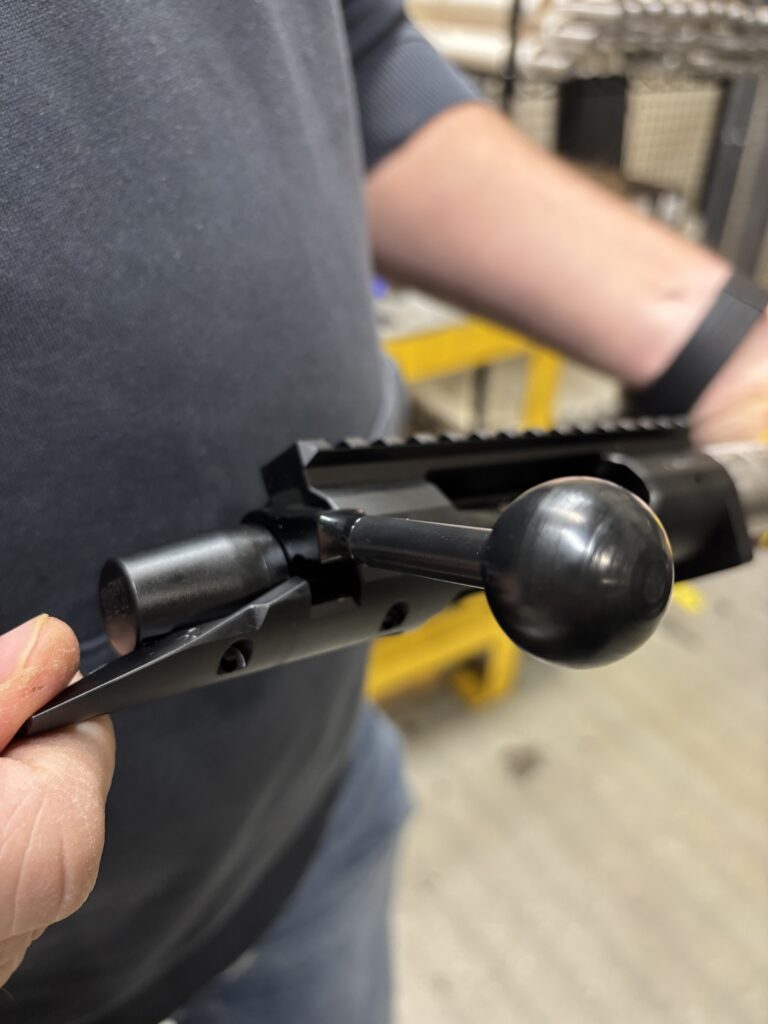
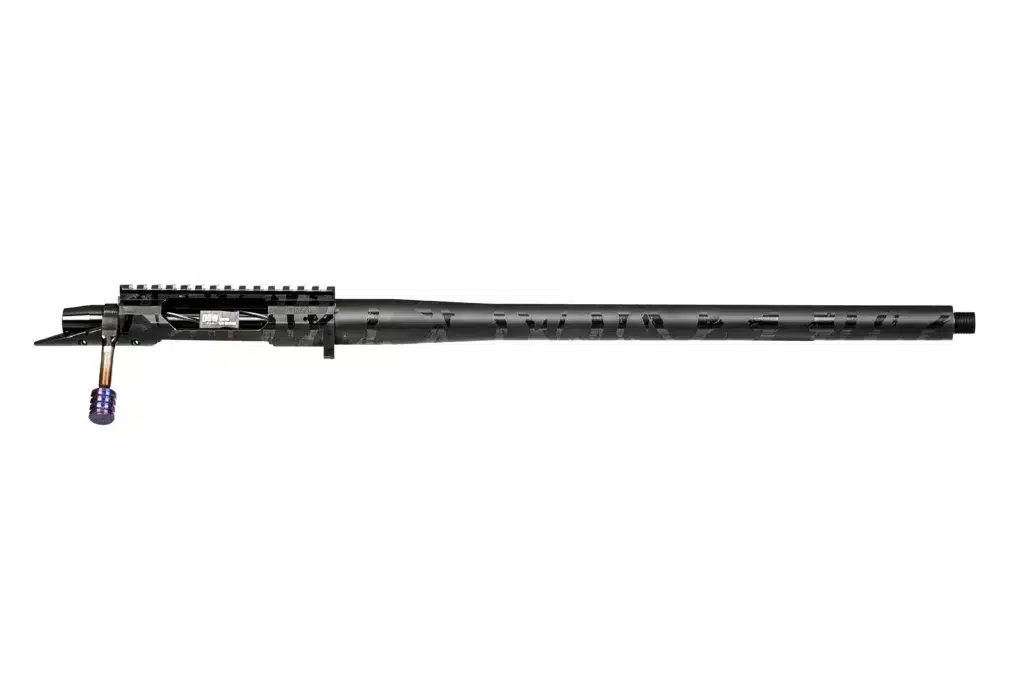
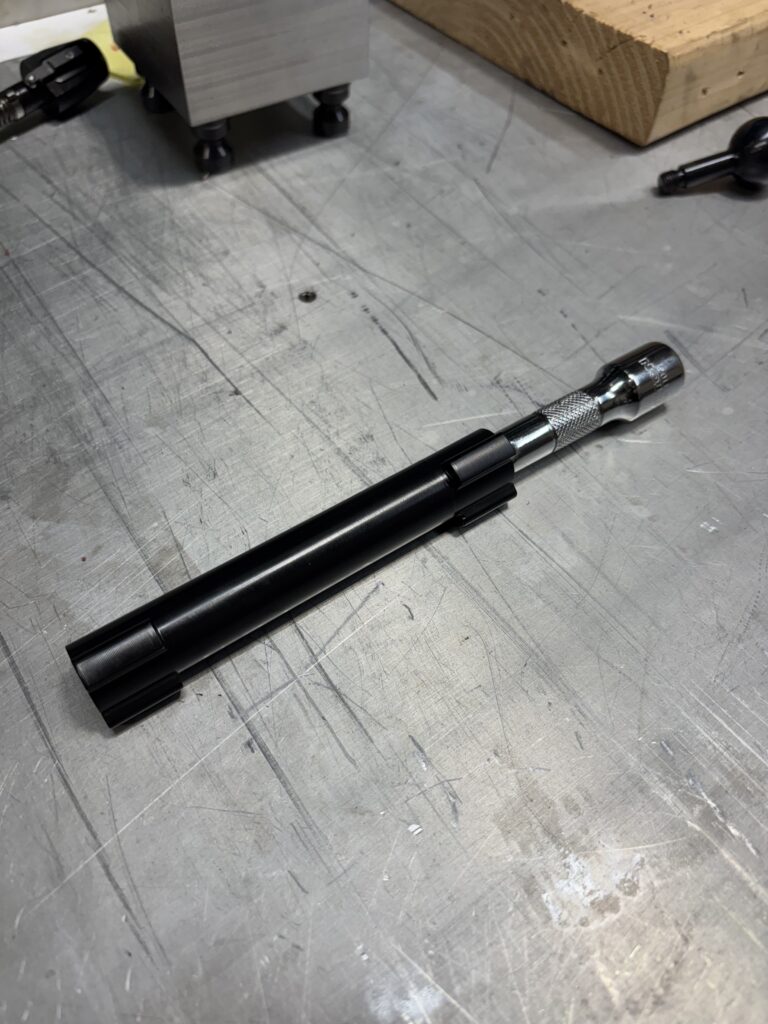
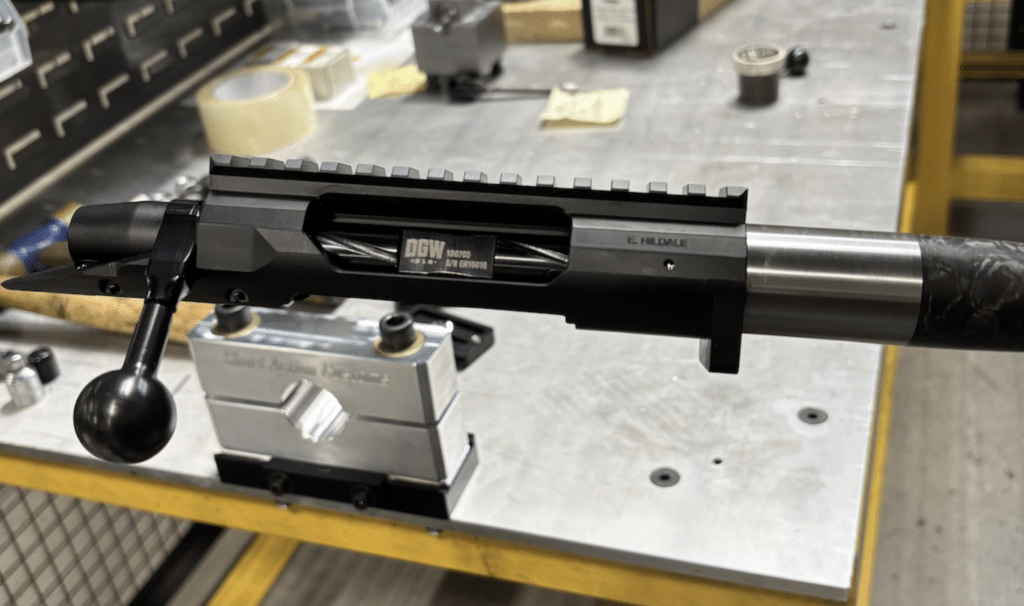
9.) Once you’ve taken the barreled action out of the barrel vise, return the bolt to the receiver. You should now have a barreled action that looks like the image below. Once you’re done, put everything away that you used and place the barreled action in the designated spot.
Detroit Gun Works offers several different barreled actions for sale so that you can get out to the range quicker.
Contact Information
- Email: sales@detroitgunworks.com
- Phone: 313.733.0308


